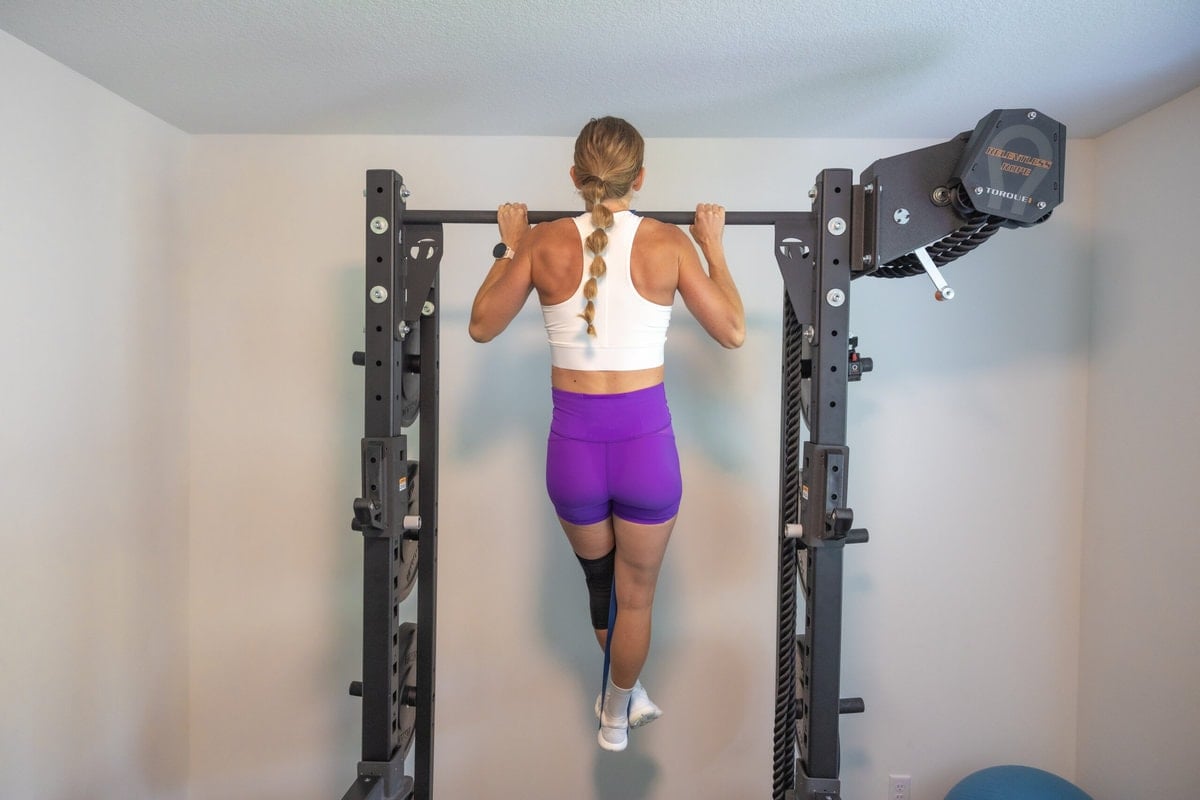
How To Get Better At Pull Ups (12 Week Guide)
Achieve your first pull up in 12 weeks! This free, 12-week pull up program is designed to help you build strength, improve your technique, and master the pull up with good form. I personally went from doing 0 to 100 pull ups using this exact guide.
Pull ups are one of the most effective bodyweight exercises you can do to strengthen the upper body muscles. They’re great for sculpting the back, shoulders, forearms, chest and core.
That said, pull ups are incredibly humbling. They’re commonly thought of as one of the most difficult bodyweight exercises you can do. Achieving an unassisted pull up takes time and consistency.
Proper form is important to ensure an effective pull up and avoid injury. As you’re working on pull ups, you want to effectively strengthen your muscles while avoiding common mistakes.
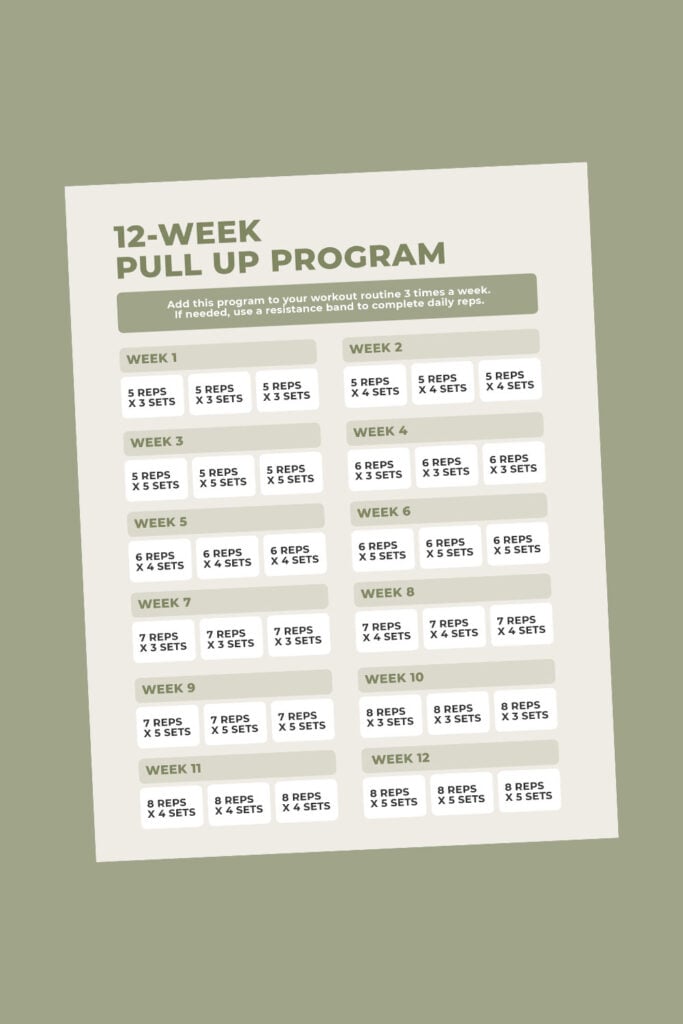
LET’S GET STARTED
Download This FREE Pull Up Program
When I set a goal to master pull ups, I used a specific formula and step-by-step process to improve my form and get from 0 to 100 pull ups. I found three keys to a successful pull up program:
- Step 1: Hanging on the Bar
- Step 2: Resistance Band (Assisted) Pull Ups
- Step 3: Linear Periodization (Program to Increase Repetition)
Whether you’re a beginner or advanced, one of the first things to do is set realistic expectations. On average, it can take 12 weeks to drop a band size if you’re working on assisted pull ups. It might take you 6-12 months of consistent pull-up work to nail your first pull up — but when you do, you’ll be so proud of your accomplishment!
How To Do A Pull Up FAQs
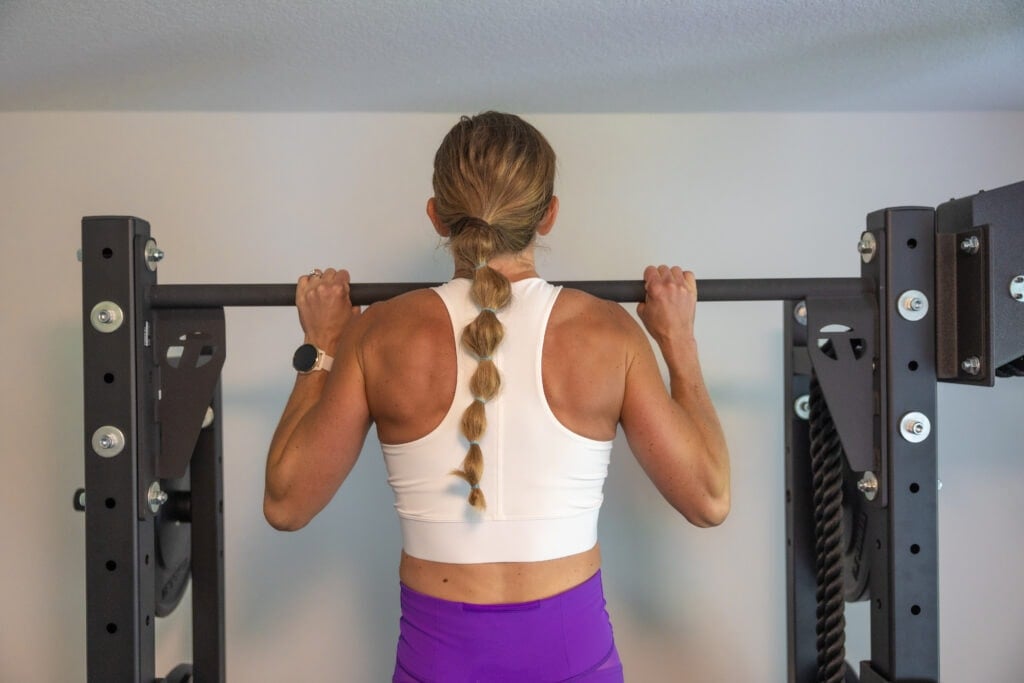
A pull up is a bodyweight exercise that challenges your upper body strength. To do a pull up, you’ll grip an overhead pull-up bar with your hands slightly wider than shoulder-width distance apart, palms facing away from your body. Using primarily your arms, back, biceps and core, you’ll lift your entire body up until your chest touches the bar. The pull up uses multiple muscles at once, making it a great compound exercise.
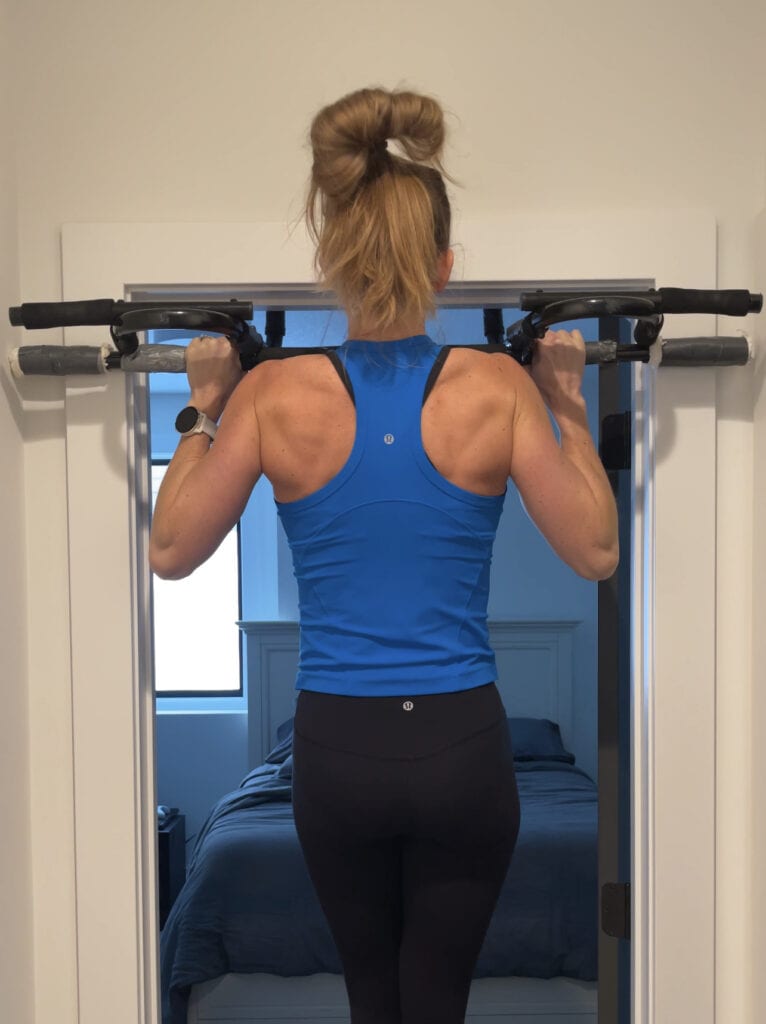
Yes — anyone can learn to do a pull up! That said, it’s important to start with the right technique and progress gradually. I recommend investing in a sturdy pull-up bar that can be installed in a doorway or mounted on a wall. Consistency is key to achieving a pull up. The more often you’re able to work on pull ups, the better.
Pull ups primarily challenge your lats and biceps while also working your deltoids, rhomboids, and core. To get you started on your pull-up preparation, you should strengthen your upper body muscles and core muscles.
Pull ups tone and strengthen the upper body and core muscles, challenge muscular endurance and improve posture. Pull ups improve grip strength by strengthening the forearms as well as the extrinsic and intrinsic muscles in the hand and wrist that support your grip. By increasing your hand and grip strength, you will be able to lift more weight in other dumbbell strength training workouts.
Step-By-Step Pull Up Guide
Step 1: Hang On The Pull Up Bar
The first step in mastering the pull up is hanging on the bar (dead hang). This step is crucial because you need to mimic the move you want to do.
Hanging on the bar has other benefits:
- Improves grip strength
- Spinal decompression
- Stretches the upper body
- Improves shoulder mobility and reduces shoulder pain
- Improves posture
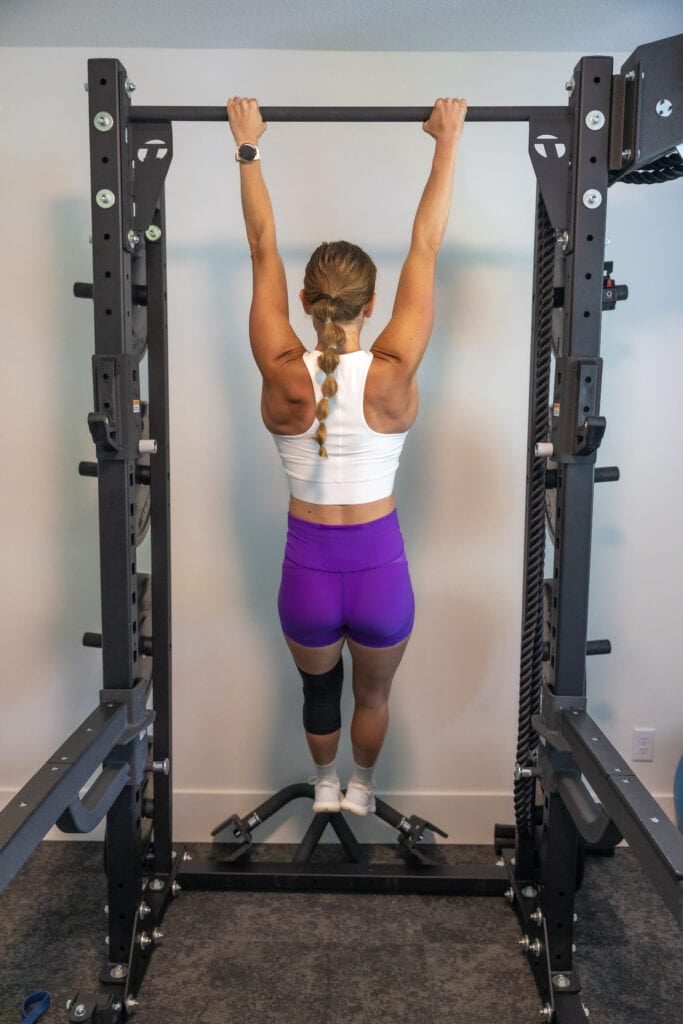
The bottom of the pull up is the most difficult portion of the move for most people. Hanging from the bar can strengthen the muscles that retract the scapulas together, which will help you avoid getting stuck at the bottom of your pull up.
How To Hang On The Pull Up Bar
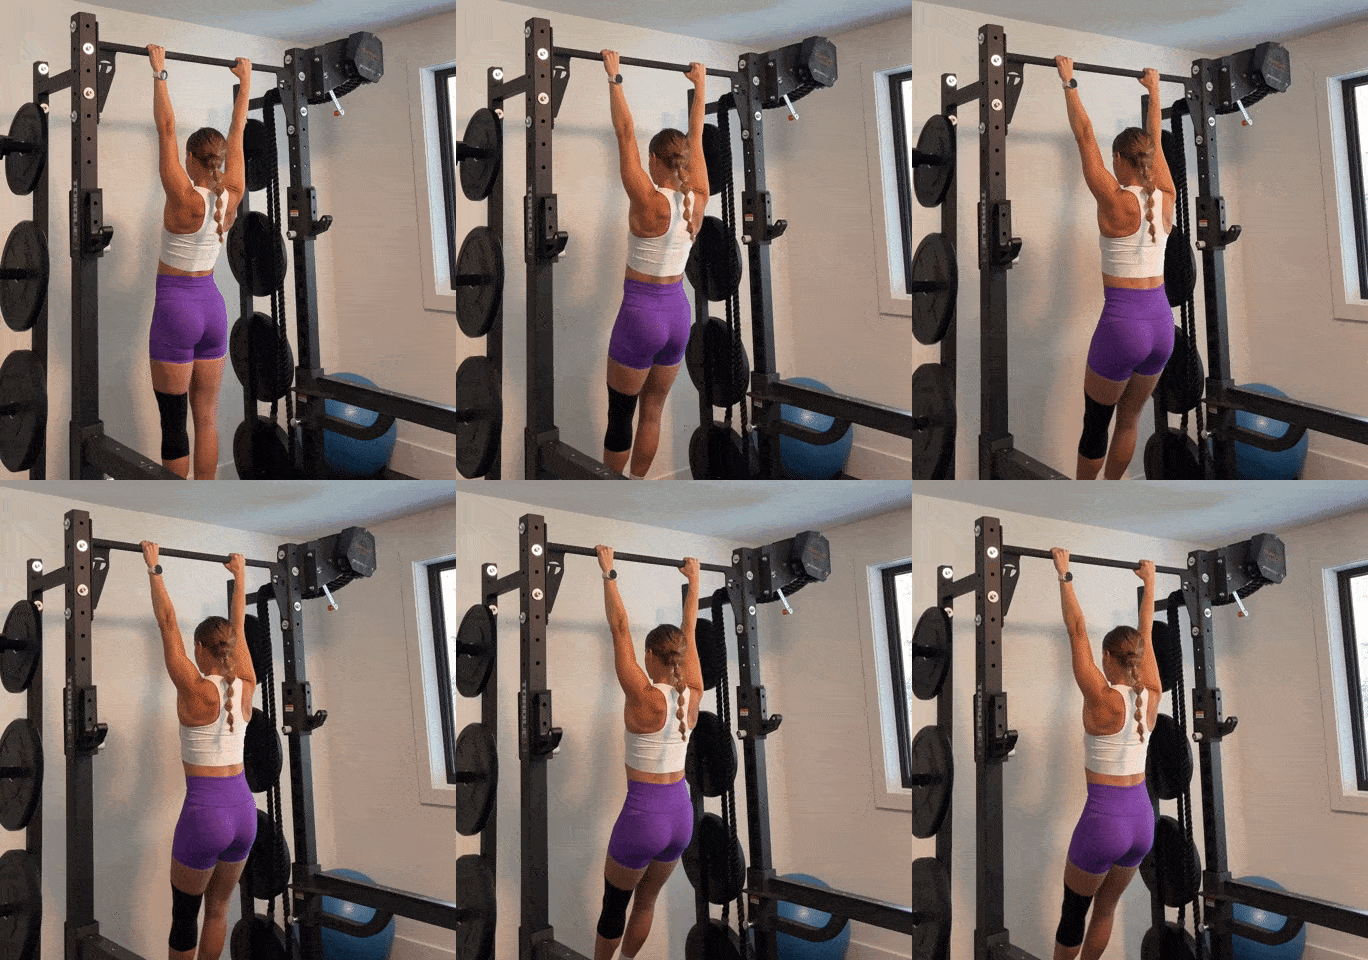
- Find a suitable pull up bar: Use a secure pull-up bar that can support your bodyweight.
- Stand beneath the bar: Position yourself directly beneath the pull-up bar with your feet flat on the ground.
- Grip the bar: Reach up and grab the bar slightly wider than shoulder-width distance apart. Your palms should face away from your body.
- Hang freely: Allow your body to hang freely from the bar with your arms fully extended. Your body should form a straight line from your head to you heels.
- Engage your core: As you hang, engage your core muscles to stabilize your body. This will help you maintain good posture and control while hanging from the bar.
- Breathe and hold: Focus on relaxing your grip and maintain a steady breath. This will help you build endurance for longer hangs.
- Repeat and progress: Follow the progression program below to increase the time you can hang on the bar.
Program Progression
Add hanging on the pull-up bar to your workout 2-3 times a week. Start with a 10-second bar hang and progress with the following:
- 10-second bar hang x3 sets
- 20-second bar hang x3 sets
- 30-second bar hang x3 sets
- 40-second bar hang x3 sets
Once you can complete a 40-second hang x3 sets, you’re ready to progress to step two: banded pull ups.
Step 2: Resistance Band Pull Ups
Adding resistance bands to your pull-up routine allows you to practice the movement while decreasing the load. This will help you maintain proper form as you build strength.
Start with a band that provides enough assistance for you to perform multiple pull ups. Avoid starting with a lighter band that will only allow you to complete one rep.
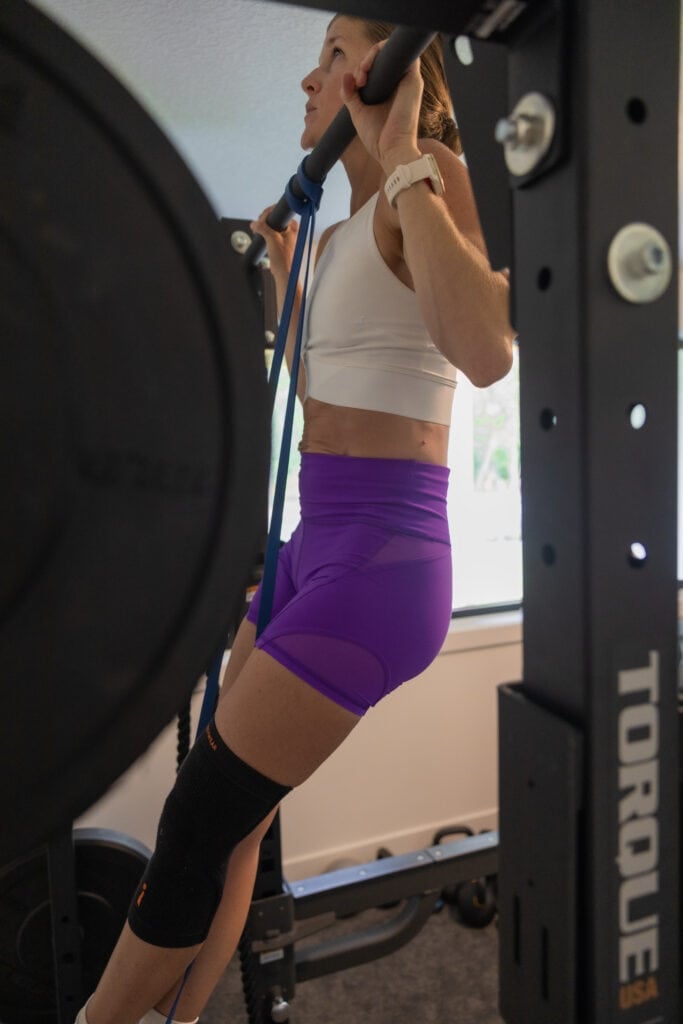
By following the 12-week program outlined below, you’ll work to increase the volume of repetitions you can perform as you simultaneously work to decrease the assistance needed.
How To Do Assisted Pull Ups With A Resistance Band
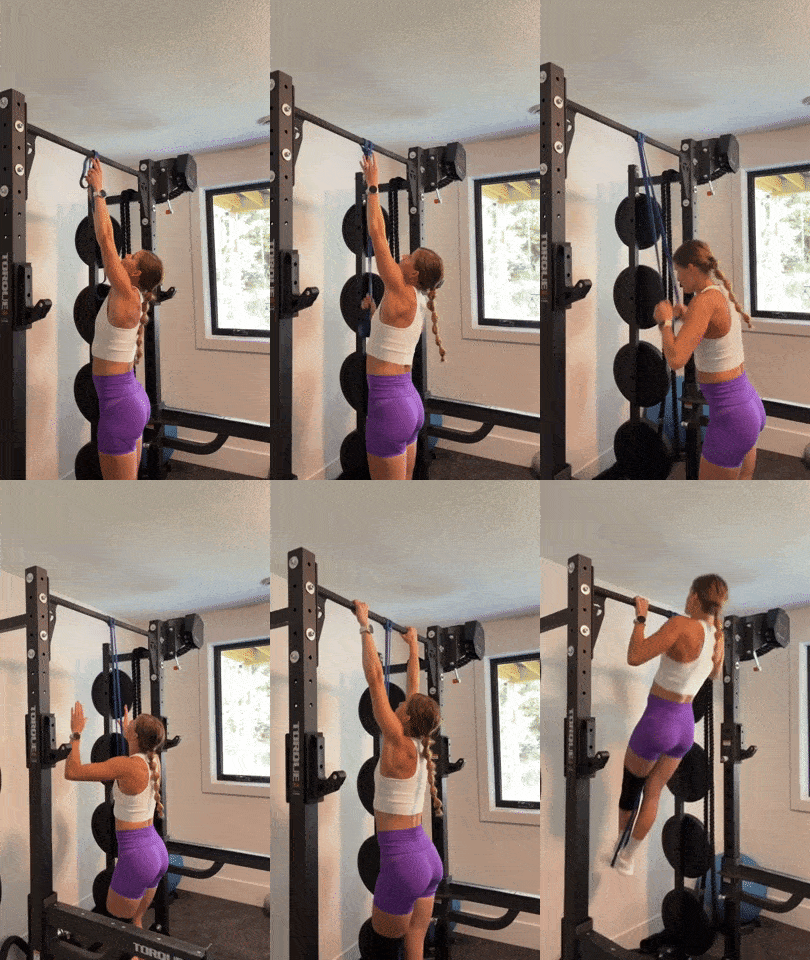
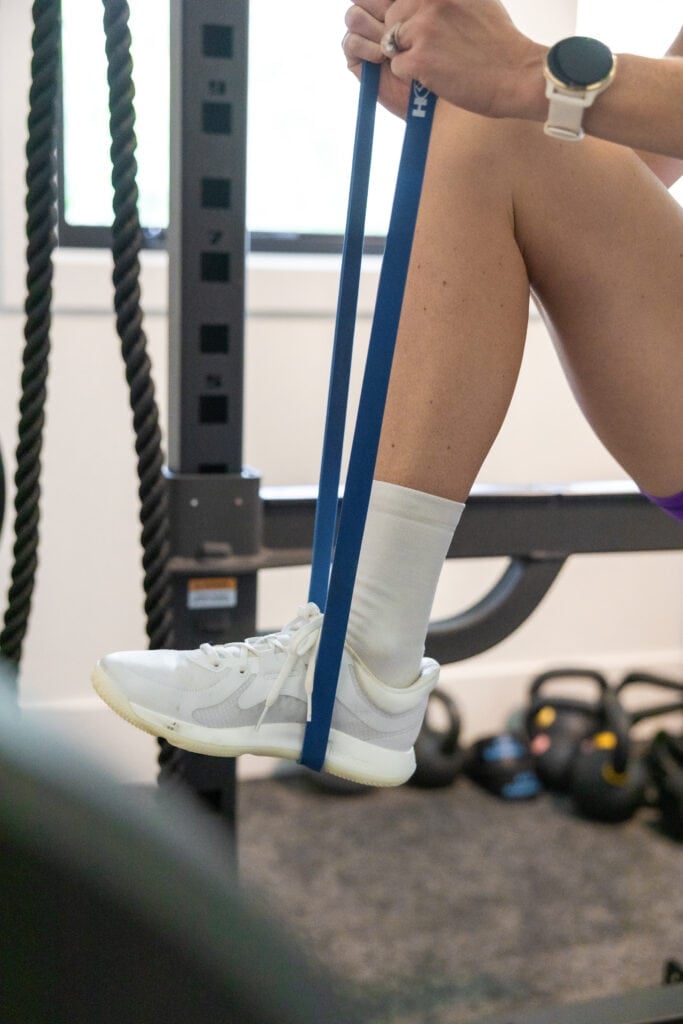
- Choose the right assistance: Select a long loop resistance band that matches your current fitness level. Thicker (heavier) bands provide more assistance, while thinner (lighter) bands provide less assistance. Beginners who need more assistance should start with a heavier band (note that you may need to use more than one band if you’re just starting out).
- Set up the pull-up bar: Ensure the pull-up bar is securely installed and can support your weight.
- Attach the band to the pull-up bar: Loop one end of the long loop resistance band over the pull-up bar, ensuring it’s secure.
- Step into the band: Stand underneath the pull-up bar, and place one foot through the loop formed by the resistance band. Position the band under your knee or foot, depending on the band’s length and your preference.
- Grip the bar: Reach up and grip the pull-up bar with your palms facing away from your body (overhand grip), hands slightly wider than shoulder-width distance apart.
- Hang from the bar: Allow your body to hang freely with your arms fully extended.
- Perform the pull up: Initiate the pull up by squeezing your shoulder blades together and pulling your chest towards the bar. Keep your elbows pointed downward throughout the movement.
- Complete the pull up: Continue to pull your body, pulling your chest up until your chin is above the bar, or as high as you can comfortably go. Keep your core engaged and your body straight throughout the movement.
- Lower yourself down: Slowly lower yourself back down to the starting position, extending your arms fully.
Once you find a band that allows you to perform 5 repetitions of assisted pull ups for x3 sets, you’re ready to move onto step three: linear periodization (comprehensive pull-up training program).
Shop My Resistance Bands
DISCOUNT CODE: NML
Step 3: Linear Periodization
Once you choose a pull-up assist band that allows you to complete 5 repetitions of assisted pull ups for x3 sets, you can follow the 12-week pull-up program below.
Note, that you can always scale the number or repetitions. For example, start with 2-3 reps x3 sets. Start where you are and personalize this formula to fit your needs.
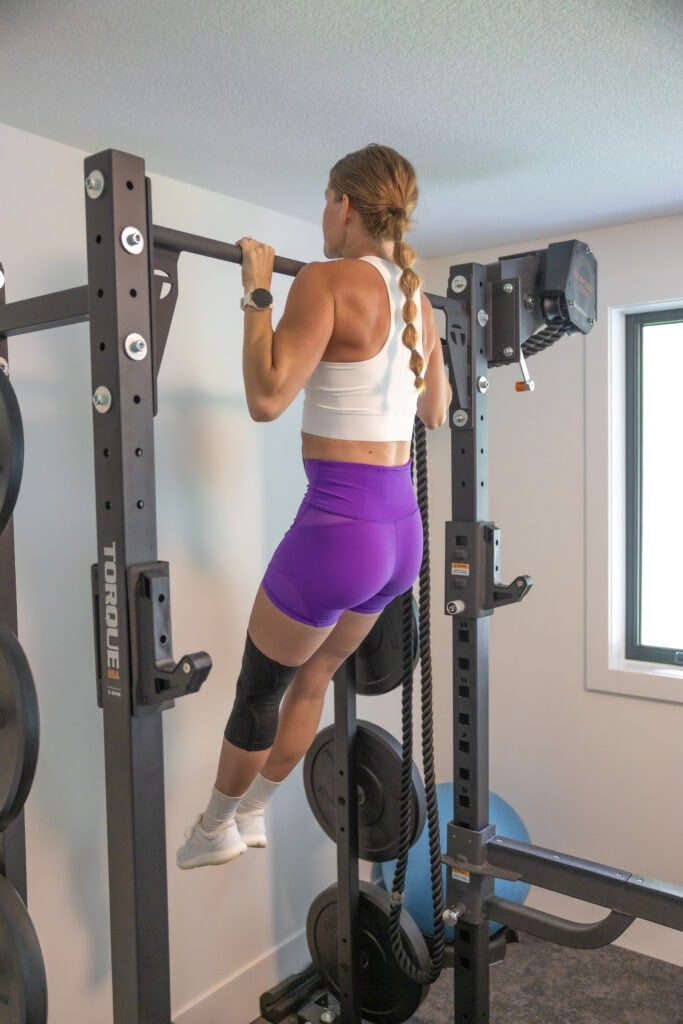
When it comes to mastering pull ups, volume of training is more important than your maximum number of reps. Again, consistency over time is what compounds.
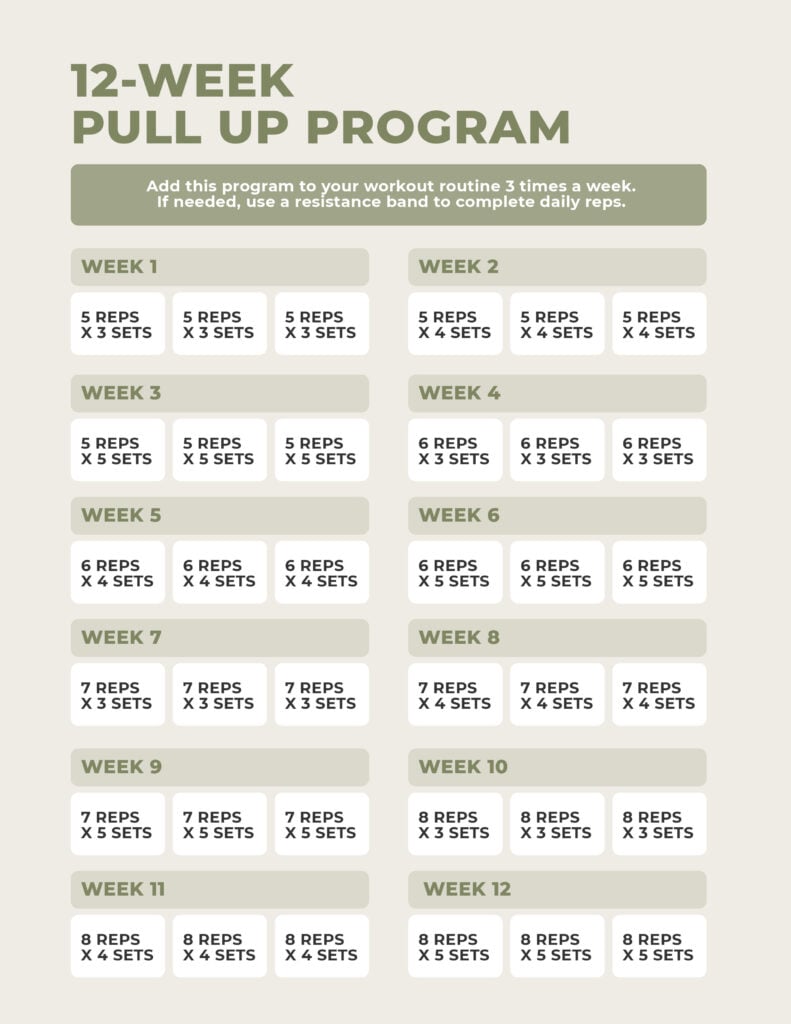
12-Week Pull Up Program
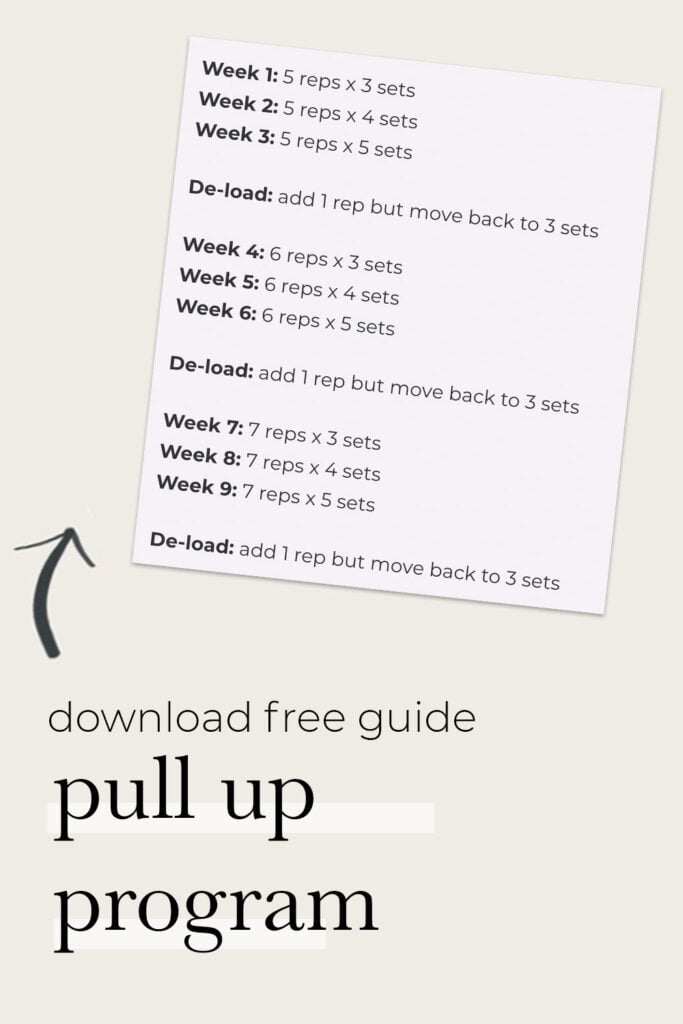
Add this program to your workout routine 2-3 times each week. This is a sample, but you can start at 2 or 3 reps if needed rather than 5, just follow the same formula by adding 1 rep to your base at each de-load.
Week 1: 5 reps x 3 sets
Week 2: 5 reps x 4 sets
Week 3: 5 reps x 5 sets
De-load: add 1 rep but move back to 3 sets
Week 4: 6 reps x 3 sets
Week 5: 6 reps x 4 sets
Week 6: 6 reps x 5 sets
De-load: add 1 rep but move back to 3 sets
Week 7: 7 reps x 3 sets
Week 8: 7 reps x 4 sets
Week 9: 7 reps x 5 sets
De-load: add 1 rep but move back to 3 sets
Week 10: 8 reps x 3 sets
Week 11: 8 reps x 4 sets
Week 12: 8 reps x 5 sets
Once you complete the 12-week program, you should drop a band size and restart the program. Continue the pattern until you’re able to complete the program with no assistance.
More Workouts
Upper Body WorkoutsPin This: Pull Up Progression
This post includes affiliate links. I do earn a commission for products purchased using these links (at no additional cost to you). Thank you for supporting Nourish Move Love, making the content you see on this blog possible.


